If you’ve just picked up your first wax melts and you’re not entirely sure what to do with them, you’re in the right place. Learning how to use wax melts is genuinely simple — there’s no wick to trim, no jar to worry about, and no complicated setup. But a few practical tips can make the difference between a good experience and a brilliant one.
This guide covers everything from choosing a burner to swapping scents, storing your collection, and troubleshooting the occasional hiccup. Whether you’ve never melted wax before or you’re switching from candles, we’ll walk you through it step by step.
What you’ll learn
- How to choose the right wax burner
- Step-by-step instructions for using wax melts
- How much wax to use (and why less is often more)
- How long to burn your wax melts
- How to swap scents without making a mess
- Storage tips to keep your melts at their best
- Common problems and how to fix them
Choosing a wax burner
Before you melt anything, you need a burner. There are two main types: tealight burners and electric warmers. Both do the same job — gently heating wax until it melts and releases fragrance — but they work quite differently.
Tealight burners
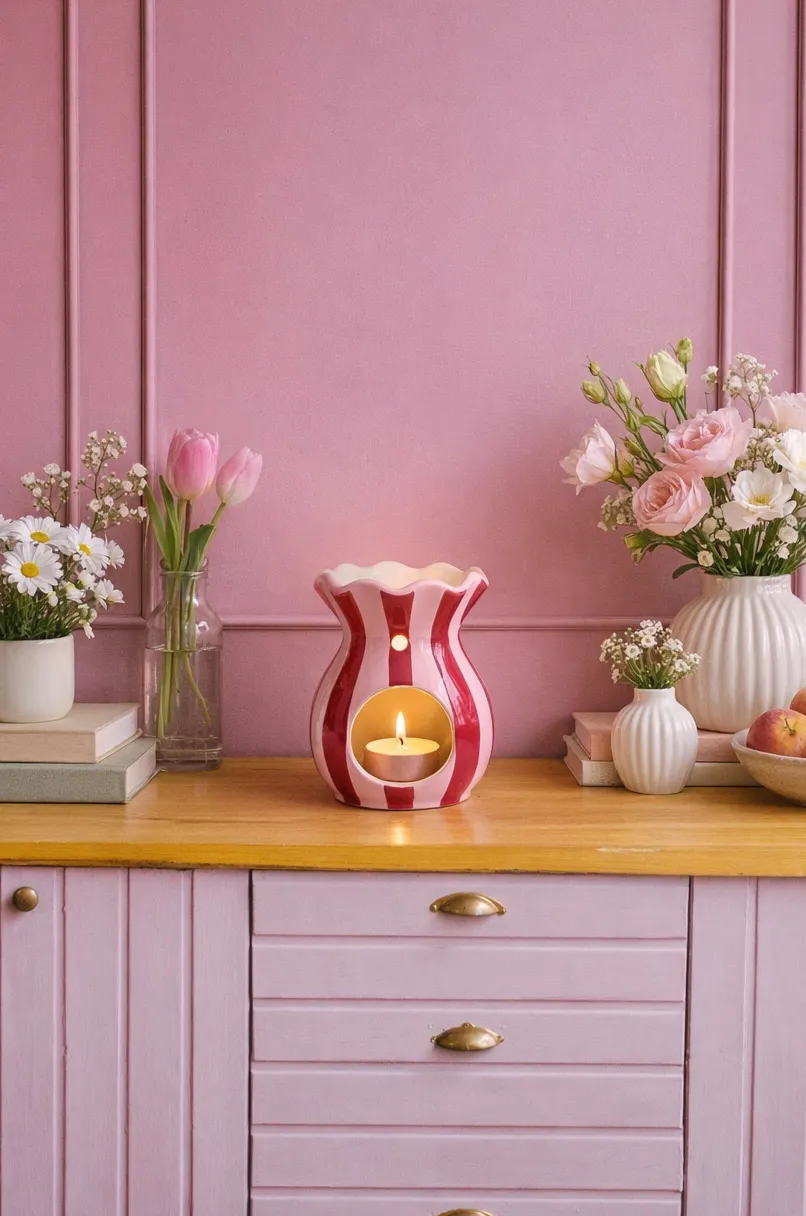
These are the classic option. A ceramic, glass, or stone burner with a hollow base for a tealight candle and a dish on top for the wax. The tealight flame heats the dish from below, melting the wax gradually.
Tealight burners are what we use and recommend. They’re affordable, widely available, and the gentle, fluctuating heat from a real flame tends to release essential oil fragrances beautifully. The slight temperature variation helps different scent notes emerge at different stages, which is part of what makes essential oil wax melts so interesting to use.
Electric warmers
Electric warmers use a bulb or heating plate instead of a flame. They’re a good option if you have young children or pets and want to avoid an open flame entirely. The temperature tends to be more consistent, which means the scent release is steadier but sometimes less dynamic.
What to look for
Whichever type you choose, keep these things in mind:
- The dish should be shallow and wide — this gives the wax a larger surface area, which helps fragrance disperse into the room
- It should sit on a heat-resistant surface — never place a burner directly on wood, plastic, or fabric
- For tealight burners, check the gap between the tealight and the dish — too close and the wax overheats; too far and it barely melts. Around 8-10cm is a good guideline
If you’re looking for something simple to get started, we sell ceramic tealight burners that are designed to work well with our melts.
How to use wax melts: step by step
Here’s the straightforward process, from start to finish.
Step 1: Break off a section of wax
Our clamshells are scored into sections, making it easy to snap off a piece. One section is usually plenty for a standard-sized room. You can always add more if you want a stronger scent, but start with less — you can’t take wax out once it’s melted.
Step 2: Place the wax in the burner dish
Drop the wax section into the dish on top of your burner. There’s no need to break it into smaller pieces unless you want to use less than a full section.
Step 3: Light the tealight (or switch on the warmer)
For tealight burners, place a standard 4-hour tealight in the base and light it. The wax will begin to soften within a few minutes and should be fully melted within 10-15 minutes, depending on your burner.
Important: Only use standard 4-hour tealights. Longer-burning tealights (8-hour or 10-hour versions) produce more heat and can overheat the burner dish, potentially damaging the burner or affecting the fragrance.
Step 4: Enjoy the fragrance
Once the wax has melted, the fragrance will start filling the room. With essential oil wax melts, you’ll notice the scent developing in layers — lighter top notes arrive first (citrus, herbs, mint), followed by the heart notes (florals, spices), and finally the deeper base notes (woods, resins). Give it 15-20 minutes for the full scent profile to develop before deciding if you want more or less wax.
Step 5: Blow out the tealight when you’re done
When you’ve finished, simply blow out the tealight. The wax will re-solidify as it cools. You can remelt the same wax next time — it doesn’t go to waste.
That’s it. Five steps. No trimming, no monitoring, no complicated ritual.
How much wax should you use?
This is one of the most common questions from beginners, and the good news is that a little goes a long way.
As a starting point:
- Half a segment or Wax Pop is plenty for a smaller space — a bathroom, home office, or compact bedroom
- One full segment or Wax Pop is all you need for a normal or large room — living rooms, open-plan kitchens, even bigger spaces
That’s genuinely it. Our wax melts have a strong scent throw because we use high-quality essential oils at a proper concentration. One of our customers uses a single segment in her hair salon and it fills the entire room. You really don’t need more than one segment at a time.
If you’re used to cheaper wax melts where you need to pile in multiple cubes to smell anything, you’ll notice the difference straight away. Start with one segment or Wax Pop, give it 15-20 minutes to get going, and you’ll see what we mean.
How long should you burn wax melts?
There’s no strict rule, but here are some sensible guidelines:
- A tealight typically burns for about 4 hours — that’s a natural session length and perfectly fine for everyday use
- The wax itself doesn’t “burn out” in one session — it re-solidifies when cooled and can be remelted multiple times until the scent fades
- Our full-size clamshells provide approximately 88 hours of total fragrance time from approximately 100g of wax, so a single section lasts through many sessions
When to replace the wax
You’ll know a piece of wax is spent when it melts but no longer releases noticeable fragrance. The wax doesn’t disappear — it simply loses its scent over time as the essential oils evaporate. When that happens, it’s time to swap in fresh wax.
How quickly the scent fades depends on several factors: room size, ventilation, burner temperature, and the specific blend. Some of our earthier, woodier blends like Glow and Calm tend to have excellent longevity thanks to their deeper base notes.
How to swap scents
One of the best things about wax melts is how easy it is to change fragrances. You’re not committed to one scent until the jar runs out — you can switch whenever you like.
The pop-out method (our favourite)
- Let the used wax cool and re-solidify completely
- Light the tealight for 30-60 seconds — just enough to slightly soften the bottom of the wax where it meets the dish
- The wax disc should pop out cleanly with a gentle push
- Wipe the dish with kitchen paper while it’s still slightly warm
- Add your new wax and carry on
The cotton ball method
If you want to remove wax while it’s still liquid (immediately after blowing out the tealight), drop two or three cotton wool balls into the melted wax. They’ll absorb the liquid wax. Remove them carefully — they’ll be hot — and wipe the dish clean.
Whichever method you use, give the dish a proper wipe between scents. Residual wax from a previous fragrance can muddy the new one, especially with essential oil blends where the scent profiles are naturally subtle. A clean dish means a clean scent.
Storing your wax melts
Essential oils are sensitive to heat, light, and air. Proper storage keeps your wax melts smelling their best for longer:
- Keep them in the original wrapper — our compostable wrappers are designed to protect the wax and seal in fragrance
- Store in a cool, dry place — a cupboard or drawer is ideal
- Avoid direct sunlight — UV light can degrade essential oils and fade the wax colour
- Keep away from heat sources — radiators, windowsills, and hot cars are enemies of wax melts
- Don’t stack heavy items on top — the wax is firm but can deform under pressure
Stored properly, our wax melts will hold their fragrance well for months. If you’ve had a clamshell sitting around for a long time and the scent seems faint, try melting it anyway — the heat often releases fragrance that you can’t detect from the solid wax at room temperature.
Troubleshooting common problems
”I can’t smell anything”
This is the most common concern, and there are several possible reasons:
- Nose fatigue — if you’ve been in the room for a while, your brain stops registering the scent. Step out for five minutes and come back; you’ll likely notice it immediately
- The wax is spent — if you’ve been remelting the same piece for many sessions, the essential oils may have fully evaporated. Time for fresh wax
- The room is too large or too well-ventilated — try closing doors and windows, or use an extra section of wax
- You’re comparing to fragrance oil melts — essential oil wax melts produce a naturally softer, more nuanced scent. It’s present, but it won’t hit you over the head. That’s by design
”The scent is too strong”
Use less wax. Seriously — half a section might be all you need, especially in smaller rooms or if you’re sensitive to fragrance. You can also try leaving the door open to let the scent disperse more widely.
”The wax isn’t melting evenly”
Check your burner. If the dish isn’t level, the wax pools to one side and melts unevenly. Also make sure the tealight is centred in the base so the heat distributes evenly across the dish.
”The wax is bubbling or smoking”
Your burner is too hot. This usually happens with oversized tealights or electric warmers set too high. Switch to a standard 4-hour tealight or turn down the temperature. Wax should melt gently — it should never bubble, smoke, or discolour from heat.
”I can’t get the old wax out”
Use the pop-out method: light the tealight for 30-60 seconds to soften the base of the wax, then gently push it out. If your burner dish isn’t removable, a butter knife can help ease it free, but be gentle with ceramic dishes.
Safety basics
Wax melts are generally safer than candles because the wax itself isn’t burning — it’s being gently warmed. But there are still a few important things to keep in mind:
- Always place your burner on a heat-resistant, stable surface
- Never leave a burning tealight unattended
- Keep burners away from children and pets
- Use standard 4-hour tealights only — longer-burning versions can overheat the burner
- Don’t add water or other liquids to the wax
- Don’t move a burner while the wax is liquid — it’s hot and can spill
For a more detailed look at safety, read our guide: Are Essential Oil Wax Melts Safe?
Where to start: our recommendations for beginners
If you’re new to essential oil wax melts and not sure which scent to try first, here are a few suggestions:
- Calm — lavender, chamomile, bergamot, clary sage, and geranium. It’s our most popular essential oil blend for a reason: beautifully balanced, works in any room, and a crowd favourite for evenings
- Uplifting — lemongrass, lemon, geranium, and litsea cubeba. Bright and zesty, brilliant for mornings and home offices
- Captivating — a complex ten-oil blend with eucalyptus, peppermint, citrus, and warm spice. If you want to experience how layered essential oil blends can be, this is the one
Not sure you want to commit to a full-size clamshell? Our Wax Pops are sample-sized versions — a great way to try different scents before choosing your favourites (subject to availability). The Essential Oil Discovery Set bundles three Wax Pops together, which is ideal for getting started.
Getting the most from your wax melts
A few final tips that make a genuine difference:
- Give the scent time to develop — essential oil blends unfold in layers, so resist the urge to add more wax in the first 15 minutes
- Match scents to the moment — something fresh and citrusy like Citronella & Lemongrass for daytime; something warmer and deeper like Glow for evenings
- Keep your burner clean — old wax residue dulls the new scent
- Experiment with amounts — there’s no single right answer; find what works for your space and your nose
- Store properly — cool, dark, sealed. Your future self will thank you
Ready to get started?
Browse our full essential oil wax melt collection to find your first scent, or try a few with our Wax Pops and Discovery Set. Every product is hand-poured in small batches using 100% pure essential oils — no synthetic fragrances, just real botanicals.
If you’d like to understand more about what makes essential oil wax melts different, our complete guide to essential oil wax melts covers everything from how they’re made to how scent notes work.
